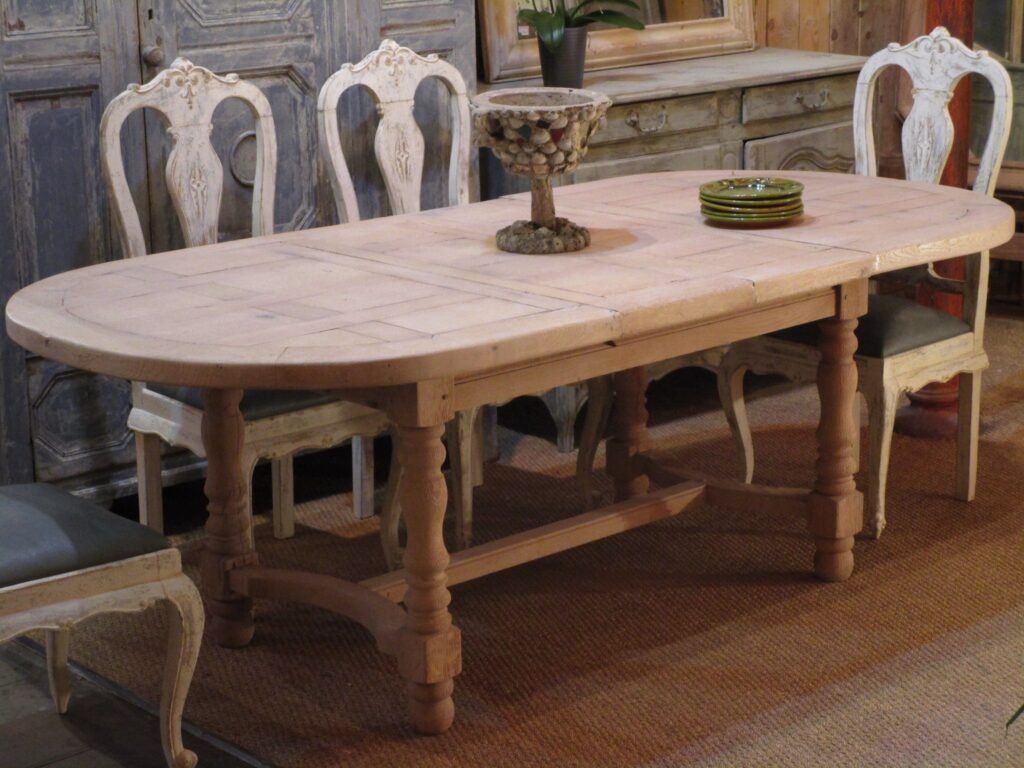
Oak dining tables are prized for their durability, character, and timeless appeal. But like all well-loved furniture, they can show signs of wear over time—scratches, water stains, faded finishes, or dull surfaces. The good news? An old oak dining table doesn’t have to be replaced to look beautiful again. With the right techniques and a little patience, you can restore your oak table to its former glory—or give it a completely new look to match your current style.
In this blog, we’ll walk you through how to refresh an old oak dining table step by step, and offer expert tips to make the process smooth and rewarding.
1. Evaluate the Table’s Condition
Before starting any restoration work, take a close look at the table. Check for:
- Deep scratches or gouges
- Water damage or stains
- Wobbly legs or loose joints
- Warped surfaces
- Faded or flaking finish
Understanding the table’s current state will help you determine how much work is needed. In many cases, surface refinishing is enough. But if the table has structural issues, you may need to reinforce or repair it before refinishing.
2. Clean the Surface Thoroughly
The first step in any restoration project is a deep clean. Years of use can leave behind layers of grease, dirt, and polish buildup. Use a soft cloth with a gentle solution of warm water and mild dish soap. Avoid soaking the wood; simply dampen the cloth and wipe the surface clean. For tougher grime, use a mixture of vinegar and water or a commercial wood cleaner.
Let the table dry completely before moving on to the next step.
3. Strip the Old Finish (If Needed)
If the finish is heavily damaged, discolored, or peeling, it’s best to remove it entirely. You can use a chemical paint stripper or a sanding method.
Using a stripper:
Apply according to the manufacturer’s instructions, let it sit, and then gently scrape off the old finish with a plastic scraper.
Sanding method:
Use a power sander or sanding block starting with medium-grit sandpaper (around 120 grit), then work your way to finer grits (220 or higher). Sand in the direction of the grain to avoid scratches.
Be sure to wear protective gloves, goggles, and a mask during this process.
4. Repair and Fill Imperfections
Once the surface is clean and stripped, fill in any deep scratches, cracks, or gouges using wood filler that matches the color of oak. Let it dry fully, then sand the repaired areas smooth. If the legs or joints are wobbly, tighten screws or use wood glue and clamps to secure loose parts.
Don’t skip this step—it’s key to restoring the table’s strength and appearance.
5. Choose the Right Stain or Finish
Now comes the fun part: customizing the look of your oak table. Depending on your style, you can keep it classic or go for something more modern.
For a natural look: Use a clear polyurethane or oil-based finish to highlight the oak’s grain and warmth.
For a contemporary feel: Choose a darker wood stain like walnut or espresso, or even opt for a grey-wash for a more Scandinavian effect.
For a farmhouse or rustic style: Consider whitewashing or distressing the table lightly to give it a vintage appeal.
Apply stain evenly with a brush or cloth, and always test on a small area first. Follow up with a protective topcoat such as polyurethane, lacquer, or tung oil for durability and shine.
6. Add a Personal Touch with Paint or Hardware
If you want a bolder update, consider painting the table’s legs a contrasting color (e.g., matte black or crisp white) while keeping the top stained wood. This two-tone look is popular in both modern and farmhouse interiors.
You can also update the table’s style by adding new features such as decorative corner brackets, wood appliqués, or even brass leg caps.
7. Maintain Your Newly Restored Table
To keep your oak dining table looking its best:
- Use coasters and placemats to prevent water rings and heat damage.
- Clean regularly with a soft cloth and avoid harsh chemicals.
- Apply a fresh coat of protective finish every few years as needed.
Proper maintenance will ensure that your beautifully restored oak table remains a centerpiece in your home for decades.
Why Restore Instead of Replace?
Restoring an old oak dining table is not just about saving money—it’s about preserving a piece of craftsmanship and history. Older oak tables are often made from solid hardwood and feature superior construction compared to many mass-produced options available today. With restoration, you can enhance their beauty, customize the look, and keep a treasured item in the family for years to come.
Let the Experts Help: Con-Tempo Furniture
While DIY restoration can be rewarding, not everyone has the time, tools, or experience to take on such a project. That’s where professional help makes all the difference. At Con-Tempo Furniture, you’ll find a curated collection of beautifully restored and custom-finished oak dining tables that marry timeless craftsmanship with contemporary design. Whether you’re looking to revive a family heirloom or invest in a fresh, high-quality table with character, their expert team can guide you every step of the way.
Trust Con-Tempo Furniture to help you turn your vision into reality—one elegant dining space at a time.

